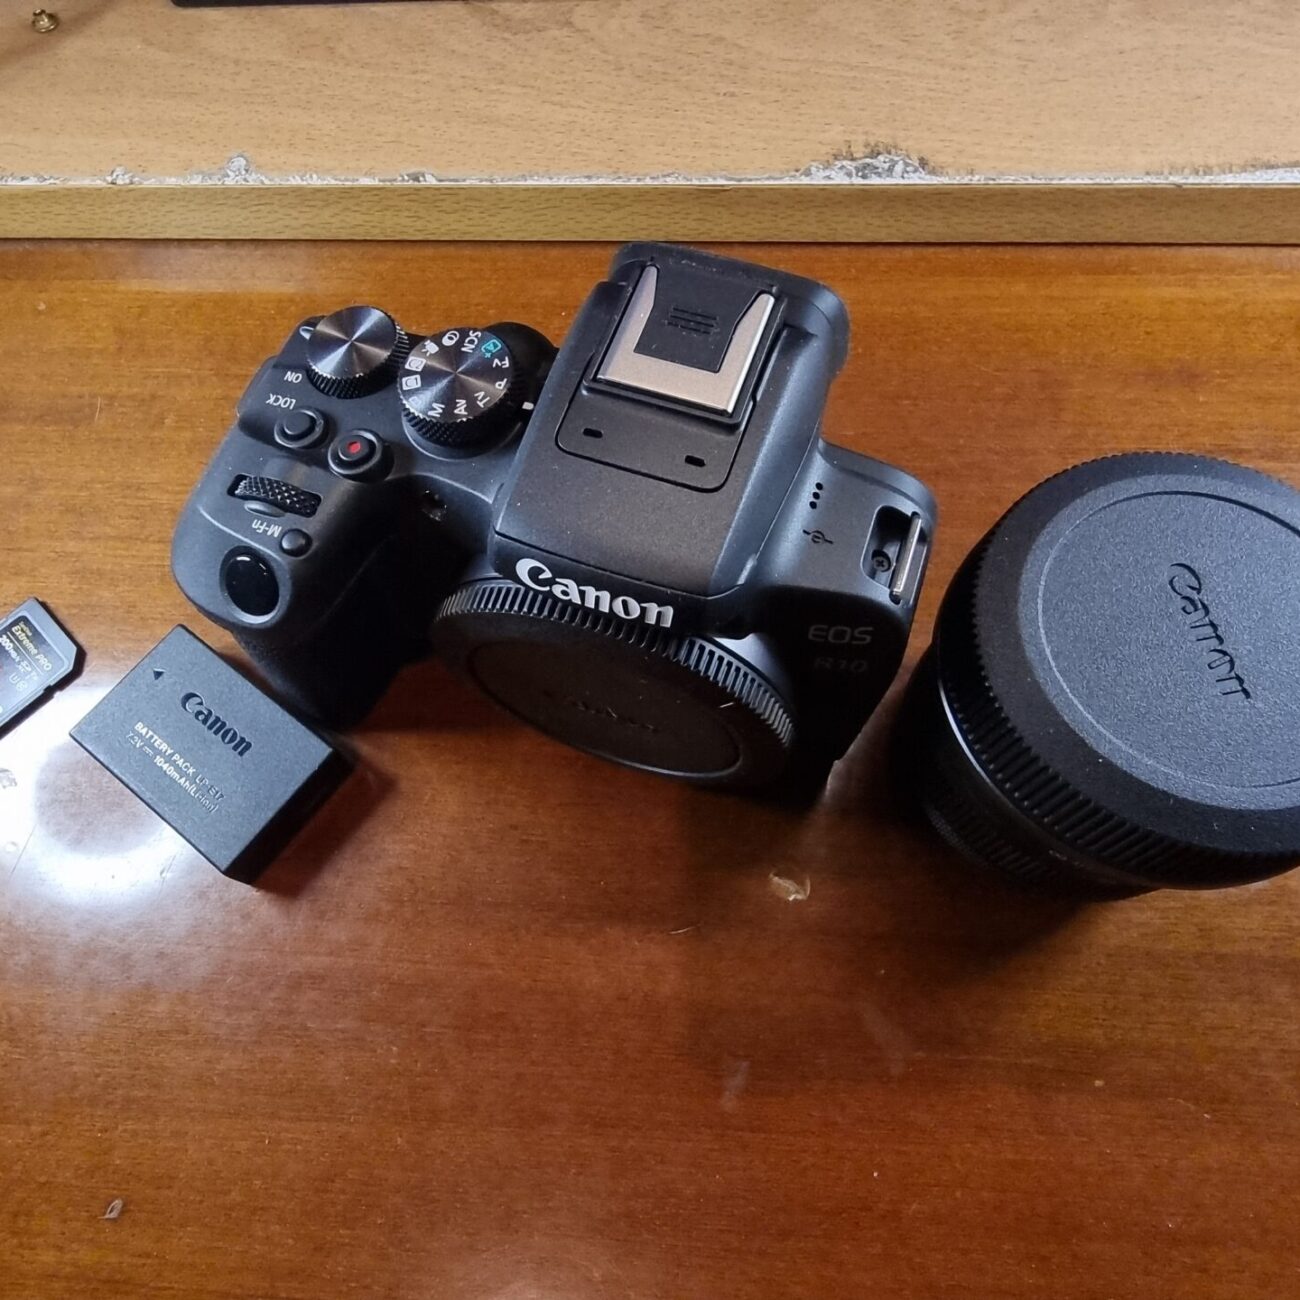

The Canon EOS R10 is a 24MP entry-level APS-C mirrorless camera for the RF mount that was released in August 2022. It is one of the best cameras for beginners, thanks to its modern autofocus smarts and good handling. It is also incredibly small and lightweight, at just 122.5 x 87.8 x 83.4mm and 429g, making it easy to carry around.

The Canon R10 has a lot of features that make it stand out from its competitors. It can shoot at an impressive 15fps with its mechanical shutter and 23fps with its electronic shutter, which is faster than any other camera in its class. It can also shoot uncropped 4K/30p video that’s oversampled from 6K capture, delivering sharp and detailed footage. It has a vari-angle touchscreen LCD that lets you tilt, swivel and rotate it for different shooting angles and perspectives. It has a dual pixel CMOS AF system that covers almost the entire frame and can track faces, eyes and animals with ease. It has a built-in flash that can act as a wireless transmitter for external flashes. It has Wi-Fi and Bluetooth connectivity that lets you transfer your photos and videos to your smartphone or tablet.
The Canon R10 is not without its flaws, though. It does not have a backside-illuminated sensor, which means it may struggle in low-light situations compared to some of its rivals. It does not have a headphone jack or an external microphone input, which limits its audio quality for video recording. It does not have in-body image stabilization (IBIS), which means you will need to rely on lens stabilization or a tripod for steady shots. It does not have dual card slots or weather sealing, which may be important for some users who need more reliability and durability.

Overall, the Canon R10 is a versatile little powerhouse that offers a lot of value for money. It is an affordable way into the EOS R system for new converts and an enjoyable second camera for existing Canon fans. Whether you are into portraits, landscapes, sports or wildlife photography, the Canon R10 can handle them all with ease.

Sample Images


BEST ACCESSORIES FOR CANON EOS R10 HERE
10 beginner tips on using the Canon R10 camera
- Use the mechanical shutter for fast action and the electronic shutter for silent shooting.
The mechanical shutter uses a physical curtain that moves in front of the sensor to expose it to light. The electronic shutter uses the sensor itself to control the exposure time. The mechanical shutter is faster and more reliable, but it can also produce some noise and vibration. The electronic shutter is silent and vibration-free, but it can also cause some distortion and banding in certain situations. You can switch between the two modes by pressing the DISP button on the back of the camera and selecting either M or E on the top right corner of the screen. - Use the vari-angle touchscreen LCD to compose your shots from different angles.
The LCD screen can be tilted up or down, swiveled left or right, and rotated 180 degrees for selfies or vlogging. You can also use it to touch and drag the autofocus point, pinch to zoom in or out, swipe to review your photos and videos, and tap to access various settings. - Use the dual pixel CMOS AF system to track your subjects with ease.
The dual pixel CMOS AF system uses two photodiodes for each pixel on the sensor to calculate the focus distance and direction. This allows it to cover almost 100% of the frame horizontally and vertically with 3979 selectable AF points. It can also track faces, eyes and animals with high accuracy and speed. You can enable these features by pressing the Q button on the back of the camera and selecting either Face+Tracking or Animal Detection under AF Method. - Use the built-in flash for fill light or wireless control.
The built-in flash can pop up automatically when needed or manually by pressing a button on top of the camera. It has a guide number of 5m at ISO 100, which means it can illuminate subjects up to 5 meters away at that sensitivity setting. It can also act as a wireless transmitter for external flashes that support Canon’s optical wireless system. You can set this up by pressing MENU on the back of the camera and selecting Flash Control under the first shooting tab. - Use the Wi-Fi and Bluetooth connectivity to transfer your photos and videos to your smartphone or tablet.
The Wi-Fi and Bluetooth connectivity lets you pair your camera with your mobile device using the Canon Camera Connect app. You can then view, download and share your images and videos wirelessly. You can also use your device as a remote control for your camera, which is handy for selfies, group shots or long exposures. You can set this up by pressing MENU on the back of the camera and selecting Wireless Communication Settings under the wrench tab. - Use the uncropped 4K/30p video mode for high-quality footage.
The uncropped 4K/30p video mode uses the full width of the sensor to capture 6K resolution video and then downsamples it to 4K resolution. This results in sharp and detailed footage that does not suffer from any cropping or loss of angle of view. You can enable this mode by pressing MENU on the back of the camera and selecting Movie Recording Quality under the second shooting tab. - Use the Creative Assist mode to apply different effects and filters to your photos and videos.
The Creative Assist mode lets you adjust various parameters such as brightness, contrast, saturation, color tone, background blur and monochrome filter. You can see the changes in real time on the LCD screen before you take the shot. You can access this mode by turning the mode dial on top of the camera to CA. - Use the Scene Intelligent Auto mode to let the camera choose the best settings for you.
The Scene Intelligent Auto mode analyzes the scene and automatically selects the most appropriate exposure, focus, white balance and picture style settings for you. It can also detect faces and apply a softening effect to smooth out skin tones. You can access this mode by turning the mode dial on top of the camera to A+. - Use the Program AE mode to have more control over your settings.
The Program AE mode lets you adjust some settings such as ISO, exposure compensation, flash exposure compensation and drive mode while letting the camera choose the aperture and shutter speed for you. You can also shift the aperture and shutter speed combination by turning the main dial on top of the camera. You can access this mode by turning the mode dial on top of the camera to P. - Use the Manual mode to have full control over your settings.
The Manual mode lets you adjust all the settings such as aperture, shutter speed, ISO, exposure compensation, flash exposure compensation and drive mode by yourself. You can use the main dial on top of the camera to change the aperture and the rear dial on the back of the camera to change the shutter speed. You can access this mode by turning the mode dial on top of the camera to M.
These are some of the tips that can help you get started with your Canon R10 camera. Of course, there are many more features and functions that you can explore and experiment with as you become more familiar with your camera. The best way to learn is to practice and have fun!
I hope you found this article helpful. If you have any questions or feedback, please let me know.


