As an Amazon Associate and an AliExpress affiliate, TechGurl earns from qualifying purchases. Some links on this page are affiliate links — if you buy through them we may receive a commission, at no extra cost to you. This never affects which products we cover or what we say about them.
Disclosure: This article contains affiliate links. If you buy through them we may earn a small commission at no extra cost to you.
Experiencing your electric scooter turning off unexpectedly while cruising down the street or having it refuse to accelerate when you press the throttle is one of the most frustrating issues a rider can face. Whether your scooter powers off completely when you hit a bump, shuts down under heavy acceleration, or displays full power on the dashboard but refuses to spin the wheel, these symptoms point toward specific electrical and mechanical safeguards or hardware failures.

Modern electric scooters rely on a coordinated network of components: a lithium-ion battery pack, a motor controller (the scooter’s brain), input sensors like the throttle and brake levers, and a brushless DC (BLDC) hub motor. When any part of this chain malfunctions or detects an out-of-spec condition, the system shuts down to protect you from accidents and prevent thermal runaway or component damage. Below, we break down the root causes of these sudden shutdowns and step-by-step methods to get your ride moving again.
Top Reasons for Your Electric Scooter Turning Off Mid-Ride
When an electric scooter cuts power abruptly, the cause is rarely random. It is usually the result of an electronic safety protection triggered inside the scooter. Here are the most common culprits:
1. Voltage Sag and Low Battery Cutoff
Even if your battery display shows two or three bars while stationary, accelerating or climbing a hill demands a significant burst of current (amperage). Under this high load, chemical degradation or internal resistance in aging lithium-ion cells causes a temporary voltage drop known as "voltage sag." The internal battery management system (BMS) continuously monitors cell group voltages. If the voltage drops below the safety threshold (typically around 3.0V per cell), the BMS instantly cuts all output power to protect the cells from deep discharge damage, leaving your electric scooter turning off without warning.
2. Stuck Brake Cutoff Sensor
Almost all modern electric scooters incorporate an electronic brake inhibitor (e-brake cutoff). When you pull the brake lever, a small magnetic reed switch or Hall effect sensor sends a signal to the motor controller to immediately cut motor power, ensuring the motor does not fight the mechanical brakes. If the brake lever does not spring back fully, or if the sensor inside the lever housing is misaligned, the controller assumes you are braking continuously and disables the throttle completely.
3. Motor Controller Overheating
The speed controller contains MOSFETs (metal-oxide-semiconductor field-effect transistors) that switch high currents to power the motor phases. Prolonged uphill riding, carrying loads above the weight limit, or riding in hot weather can push controller temperatures past safe limits (often around 85°C / 185°F). To prevent melting internal silicone and solder joints, the controller engages a thermal shutdown routine, instantly cutting power until internal temperatures cool down.
4. Loose or Melted Phase Wire Connectors
Hub motors draw substantial current through three thick phase wires. On many entry-level to mid-range scooters, these wires connect to the controller using standard plastic bullet connectors. Excessive heat cycles, vibration, and road shocks can loosen these connections or melt the plastic insulation, causing intermittent electrical contact or short-circuits that cause the controller to shut down defensively.
5. Faulty Accelerator Throttle
The throttle uses a small magnet rotating past a Hall effect sensor to output a variable voltage (typically between 0.8V and 4.2V) to the controller. If the return spring weakens, the internal magnet shifts out of position, or the signal wire develops an internal fracture, the controller registers an out-of-range signal error and locks the motor from engaging.
Step-by-Step Diagnostic Guide to Fix the Problem
Follow these methodical troubleshooting steps to pinpoint why your scooter turns off or stalls.
Step 1: Check the Kick-to-Start Feature
Before disassembling anything, verify whether your scooter requires a kick-start. Many riders assume their scooter is broken when they press the throttle from a standstill and nothing happens. For safety reasons, most scooters require you to manually kick push the scooter to roughly 3 mph (5 km/h) before the throttle engages. Test this by kicking off vigorously before pressing the throttle.
Step 2: Inspect and Reset the Brake Levers
If the scooter powers on, displays no error codes, but refuses to move:
- Check your brake levers to see if they are returning completely to their resting position.
- Manually push the brake lever outwards (away from the handlebar grip).
- Check if the brake light on the rear fender is stuck on; if it is illuminated while you are not touching the brakes, the brake cutoff switch is stuck engaged.
- Disconnect the small 2-pin electronic brake sensor wire (if exposed near the handlebars) and try the throttle again. If the motor engages, replace the brake lever assembly.
Step 3: Measure Battery Voltage Under Load
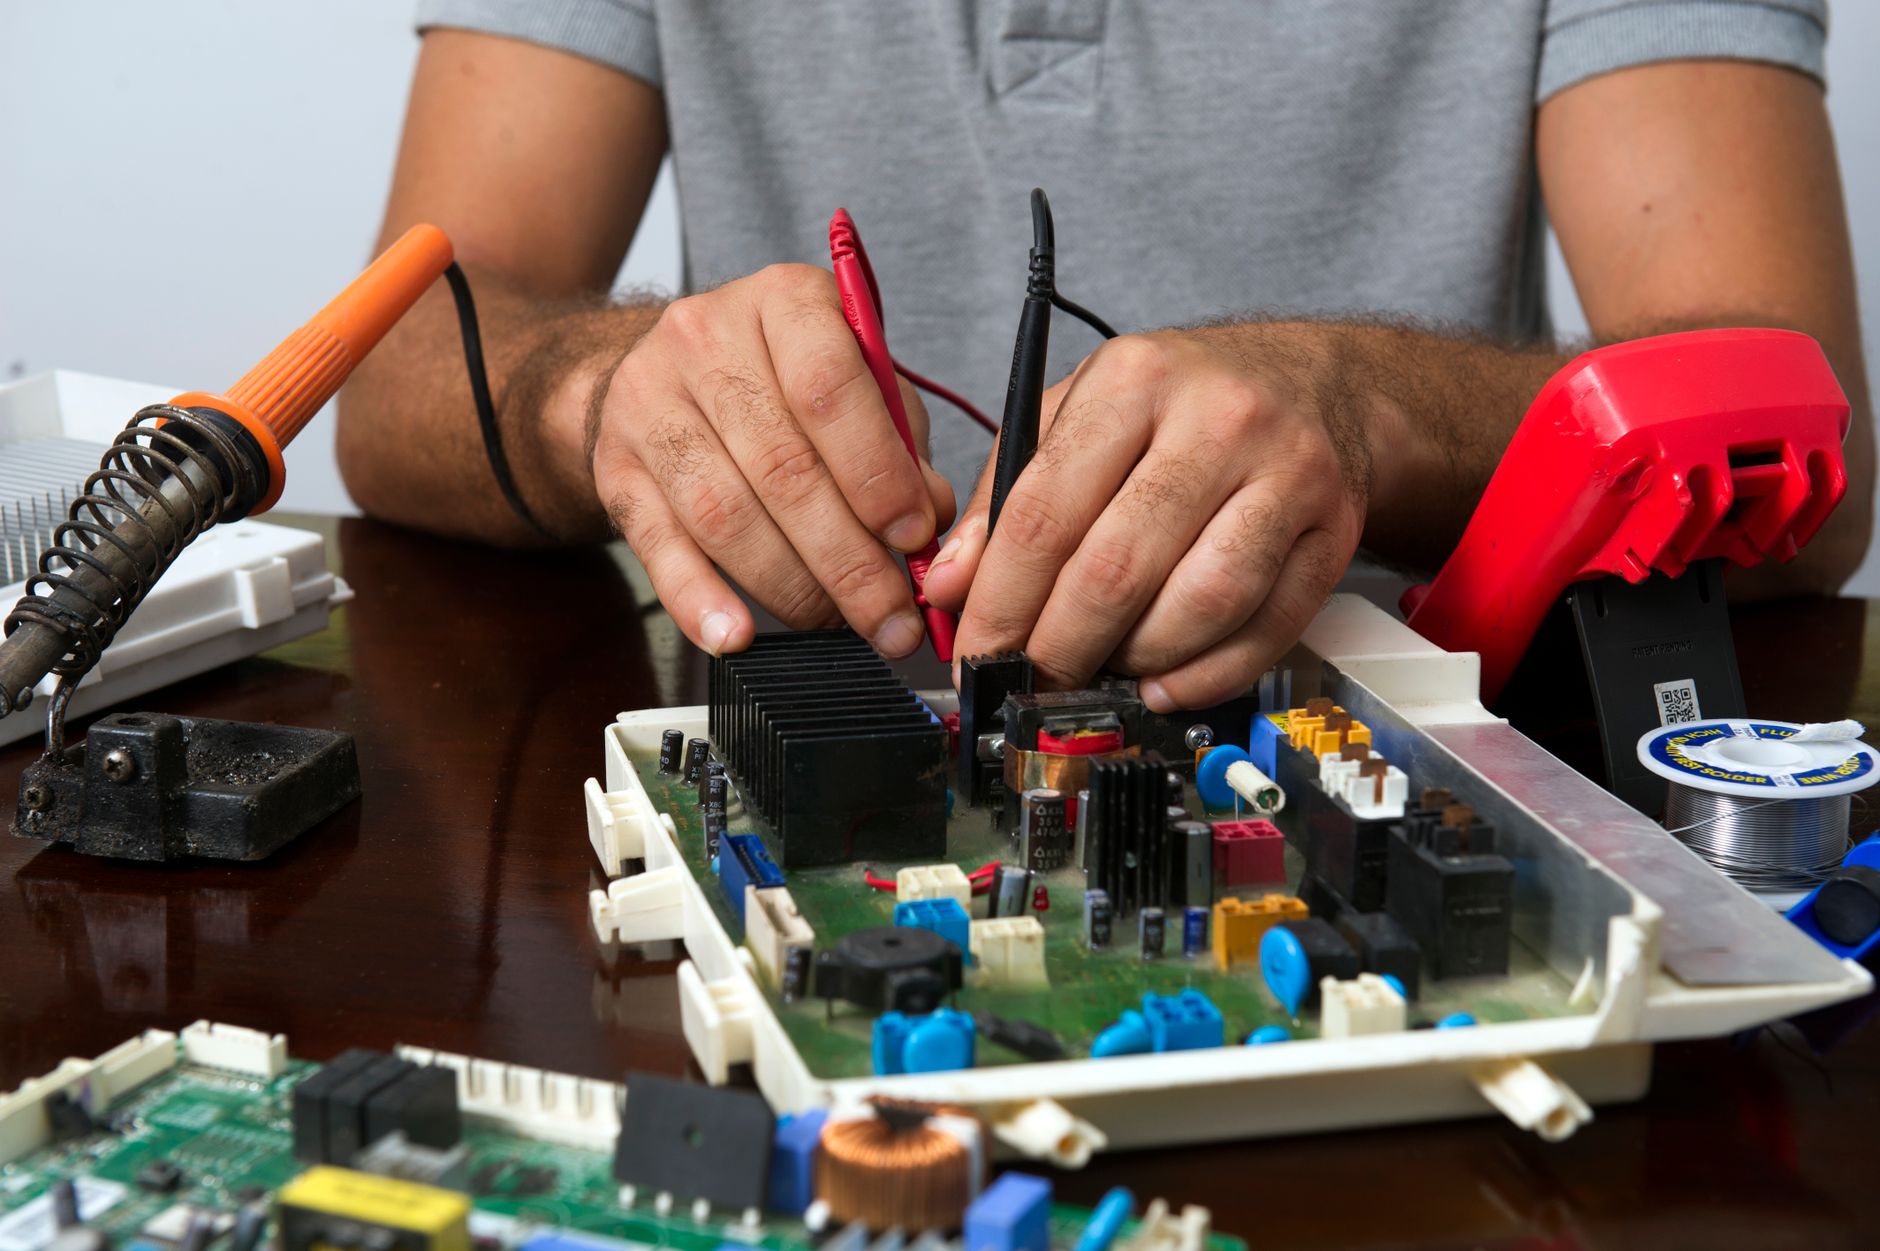
If your scooter shuts off entirely during acceleration or uphill climbs, you must measure resting voltage versus load voltage using a reliable digital multimeter.
Klein Tools MM325 Digital Multimeter — check today’s price
- Open the battery deck compartment using the appropriate hex or Torx tools.
- Set your multimeter to DC Volts (200V range).
- Measure the voltage across the main discharge port connector (usually an XT60 or XT90 connector).
- A healthy 36V nominal pack should read around 42.0V fully charged; a 48V pack should read around 54.6V. If the full charge voltage is significantly lower, or if the voltage plunges by more than 4-6 volts under a brief spin test, the battery pack has weak or unbalanced cell groups that trigger BMS shutdown.
Step 4: Inspect Controller Wiring and Phase Connectors
With the deck open, inspect the bundle of wires emerging from the controller box:
- Look closely at the three main phase wires (typically blue, green, and yellow). Check for blackened, scorched, or melted plastic housings.
- Gently tug on each connector to ensure solid mechanical contact.
- Inspect the main power harness connecting the handlebar display to the controller for pinches around the folding mechanism stem.
Common Mistakes to Avoid
- Leaving the scooter on the charger permanently: Keeping an aging pack at 100% state-of-charge in high ambient temperatures accelerates cell degradation and exacerbates voltage sag.
- Riding immediately after a thermal shutdown: If the controller cuts off due to heat, powering it back on instantly can permanently burn out the MOSFETs. Let it rest for at least 15 minutes.
- Ignoring error codes: If your display flashes a wrench icon or a two-digit code (such as Error 14 for throttle or Error 15 for brake sensor on popular models), do not guess—consult the specific code chart for your model before ordering replacement parts.
- Washing with high-pressure water: Water ingress into the throttle assembly or deck can short-circuit signal lines, leading to sudden shutdowns.
Handy tools on AliExpress
If you plan to perform your own electrical diagnosis and component repairs, these affordable, workshop-grade tools and parts are essential for testing voltage and replacing worn sensors.
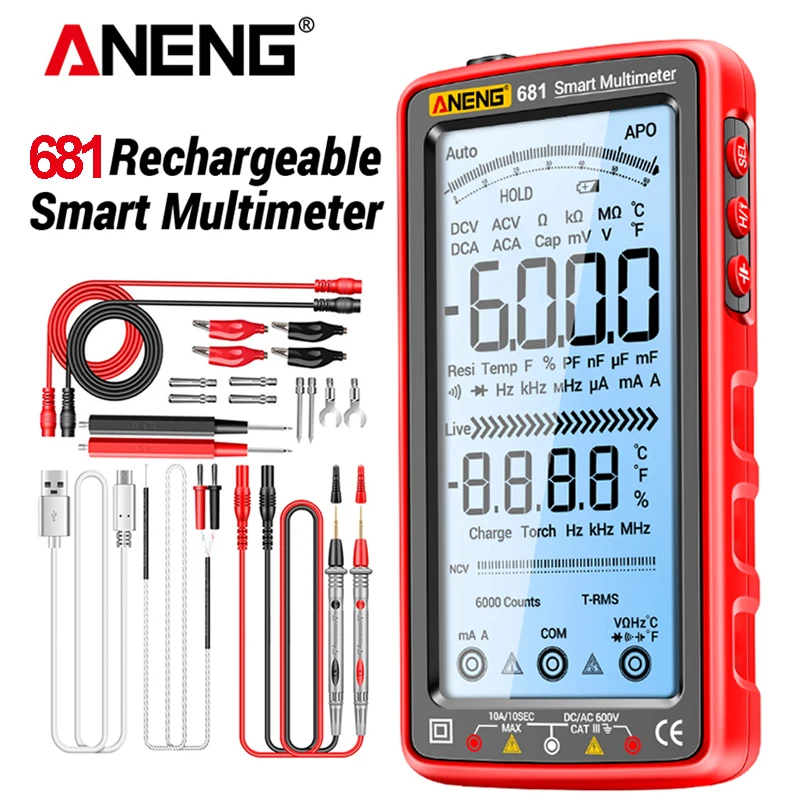
ANENG 681 Rechargable Digital Professional Multimeter Non-contact Voltage Tester AC/DC Vol
$24.49 $51.02 on AliExpress
ANENG 681 Rechargable Digital Professional Multimeter Non-contact Voltage Tester AC/DC Vol
$23.08 $49.33 on AliExpress
Frequently Asked Questions
Why does my electric scooter shut off only when going up steep hills?
Climbing steep inclines pulls maximum amperage from the battery pack, generating substantial heat in the controller and causing severe voltage sag in the battery. If an aging cell group drops below the BMS cutoff voltage, or the controller’s internal thermometer exceeds safe operating limits, power cuts out instantly to prevent hardware destruction.
Can a faulty battery charger make my scooter turn off immediately?
Yes. If your charger’s output voltage is miscalibrated or its internal regulation fails, it may show a green "fully charged" light prematurely even though the battery pack is only partially charged. Once you take the scooter on the road, the low actual charge triggers the undervoltage protection within minutes.
How do I know if my throttle or my controller is broken?
You can test the throttle using a multimeter. Back-probe the signal wire (usually green or white) while the scooter is powered on. A functioning throttle should read approximately 0.8V to 1.0V at rest and smoothly ramp up to around 4.0V to 4.2V as you press down. If the voltage remains constant or reads 0V, the throttle sensor or wiring is bad; if the voltage ramps smoothly but the motor does not turn, the issue lies in the controller or motor phase wiring.
Wrapping Up
Dealing with an electric scooter turning off intermittently comes down to understanding the vehicle’s protective mechanisms. By methodically verifying the kick-start behavior, inspecting brake cutoff switches, checking for melted phase connectors, and testing your battery health with a multimeter, you can isolate the exact component causing failure. For more maintenance strategies and step-by-step teardowns, explore our complete Why Your Action Camera Stops Recording: 6 Causes & Fixes to keep your daily commute safe, efficient, and reliable.