As an Amazon Associate and an AliExpress affiliate, TechGurl earns from qualifying purchases. Some links on this page are affiliate links — if you buy through them we may receive a commission, at no extra cost to you. This never affects which products we cover or what we say about them.
Disclosure: This article contains affiliate links. If you buy through them we may earn a small commission at no extra cost to you.
When you need to fix smart socket issues, start by understanding that these devices combine mains-voltage switching with a Wi-Fi radio, so problems usually fall into three categories: power delivery, wireless connectivity, or firmware glitches. This guide walks you through safe, systematic troubleshooting so you can restore control of your lamps, fans, or appliances without guesswork.
Fix Smart Socket: Safety First: Before You Open Anything
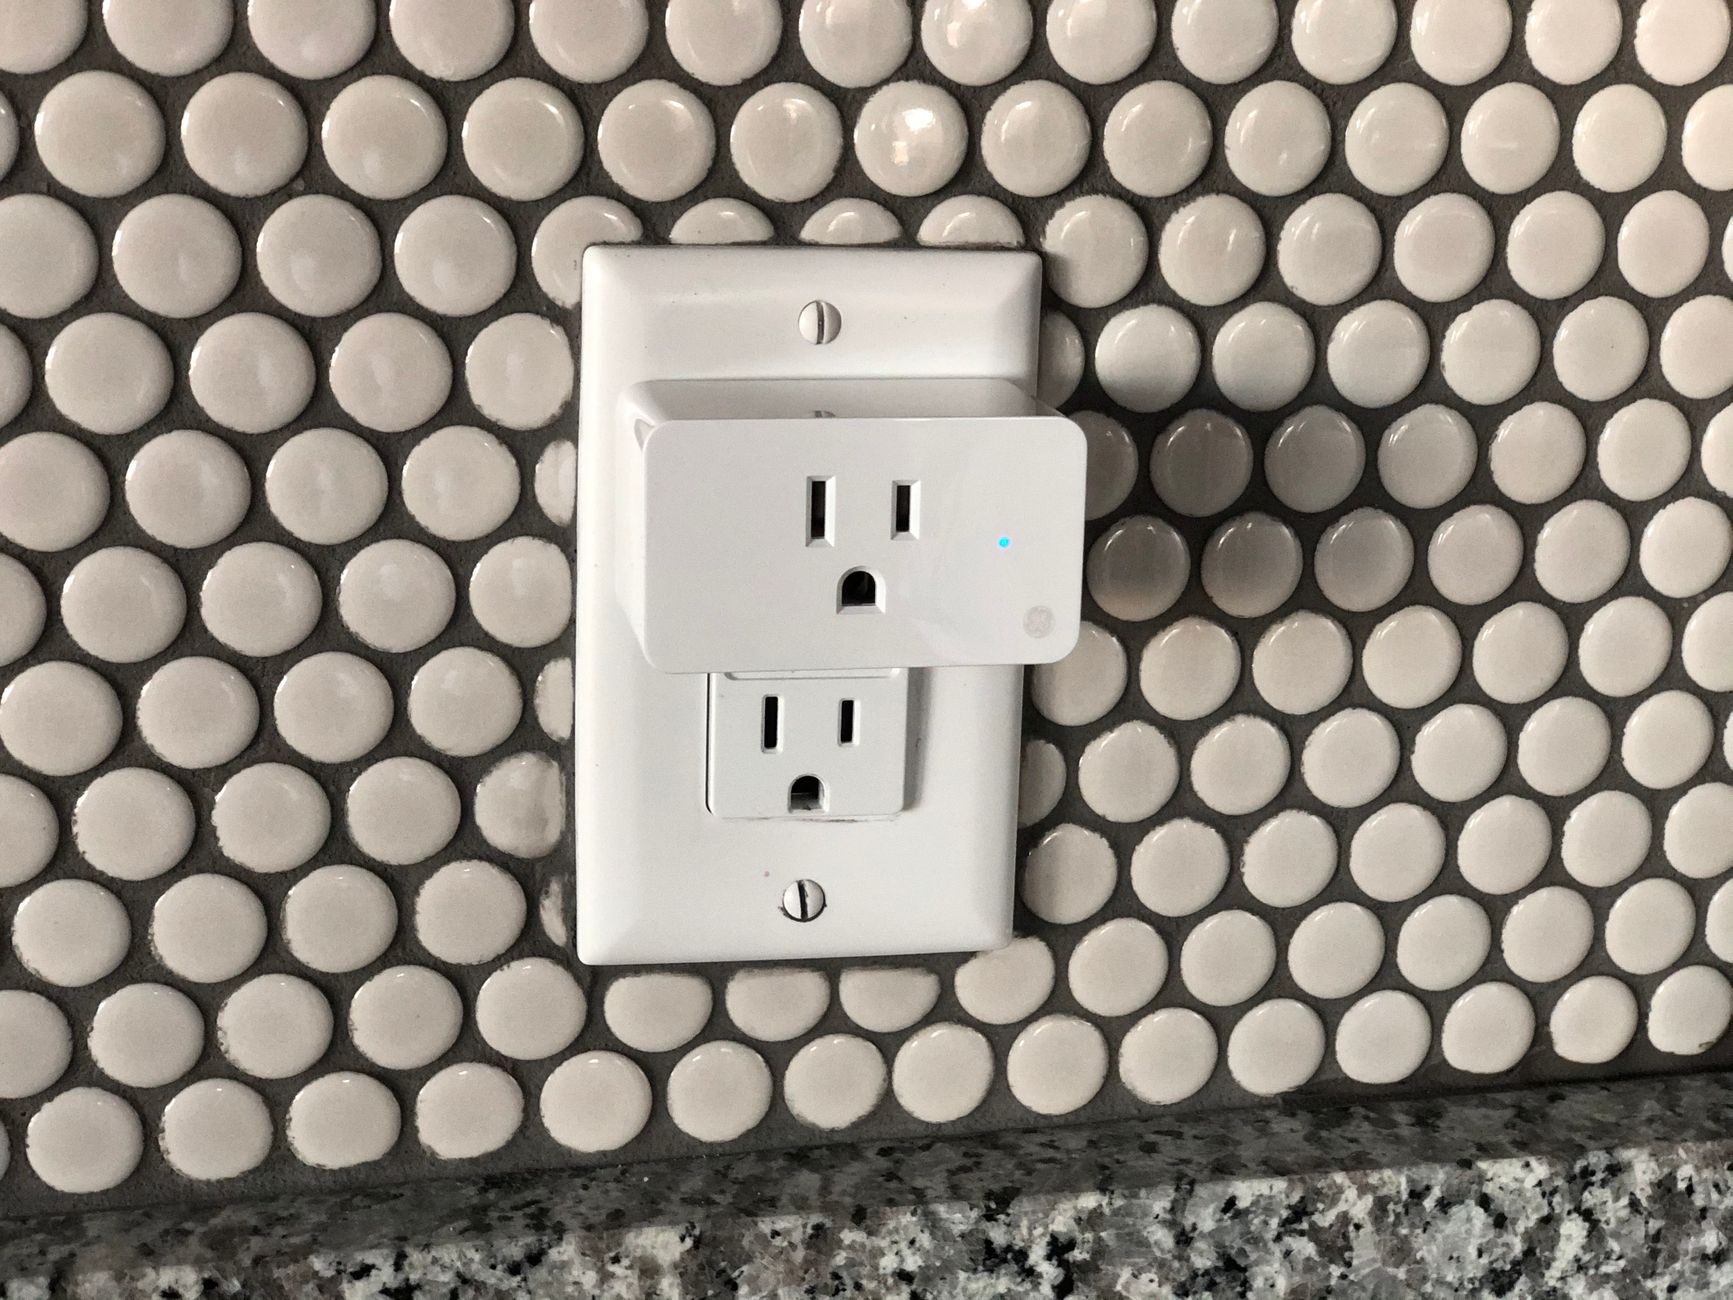
Smart sockets switch 120 V or 240 V AC. Treat every unit as live until proven otherwise. Turn off the circuit breaker that feeds the outlet, then verify zero voltage with a non-contact tester or multimeter. If the socket is a plug-in model, simply unplug it. For in-wall replacements, remove the faceplate and confirm the wires are dead before touching terminals. Never work on energized conductors.
Step 1: Verify the Basics
- Check the load: Plug a known-good lamp or phone charger into the smart socket. If nothing powers on, the internal relay or power supply may have failed.
- Inspect the LED indicator: Most models (TP-Link Kasa, Meross, Gosund, Shelly) use a color-coded LED. Solid blue or green usually means “connected”; rapid blinking means “pairing mode”; solid red or orange often signals a fault or no Wi-Fi.
- Test the physical button: Press the manual toggle. If the load switches but the app doesn’t update, the radio or cloud link is the culprit, not the power stage.
Step 2: Power-Cycle and Factory Reset
Unplug the device (or kill the breaker) for a full 30 seconds. This discharges capacitors and forces a clean boot. If the socket still misbehaves, perform a factory reset: hold the button for 5–10 seconds until the LED enters rapid-blink pairing mode. Consult the manufacturer’s PDF manual for the exact timing; for example, many Tuya-based sockets require a 5-second hold, while Shelly devices need a 10-second hold followed by a quick double-tap.
Step 3: Diagnose Wi-Fi Connectivity
Smart sockets only support 2.4 GHz networks (802.11 b/g/n). Common failure points:
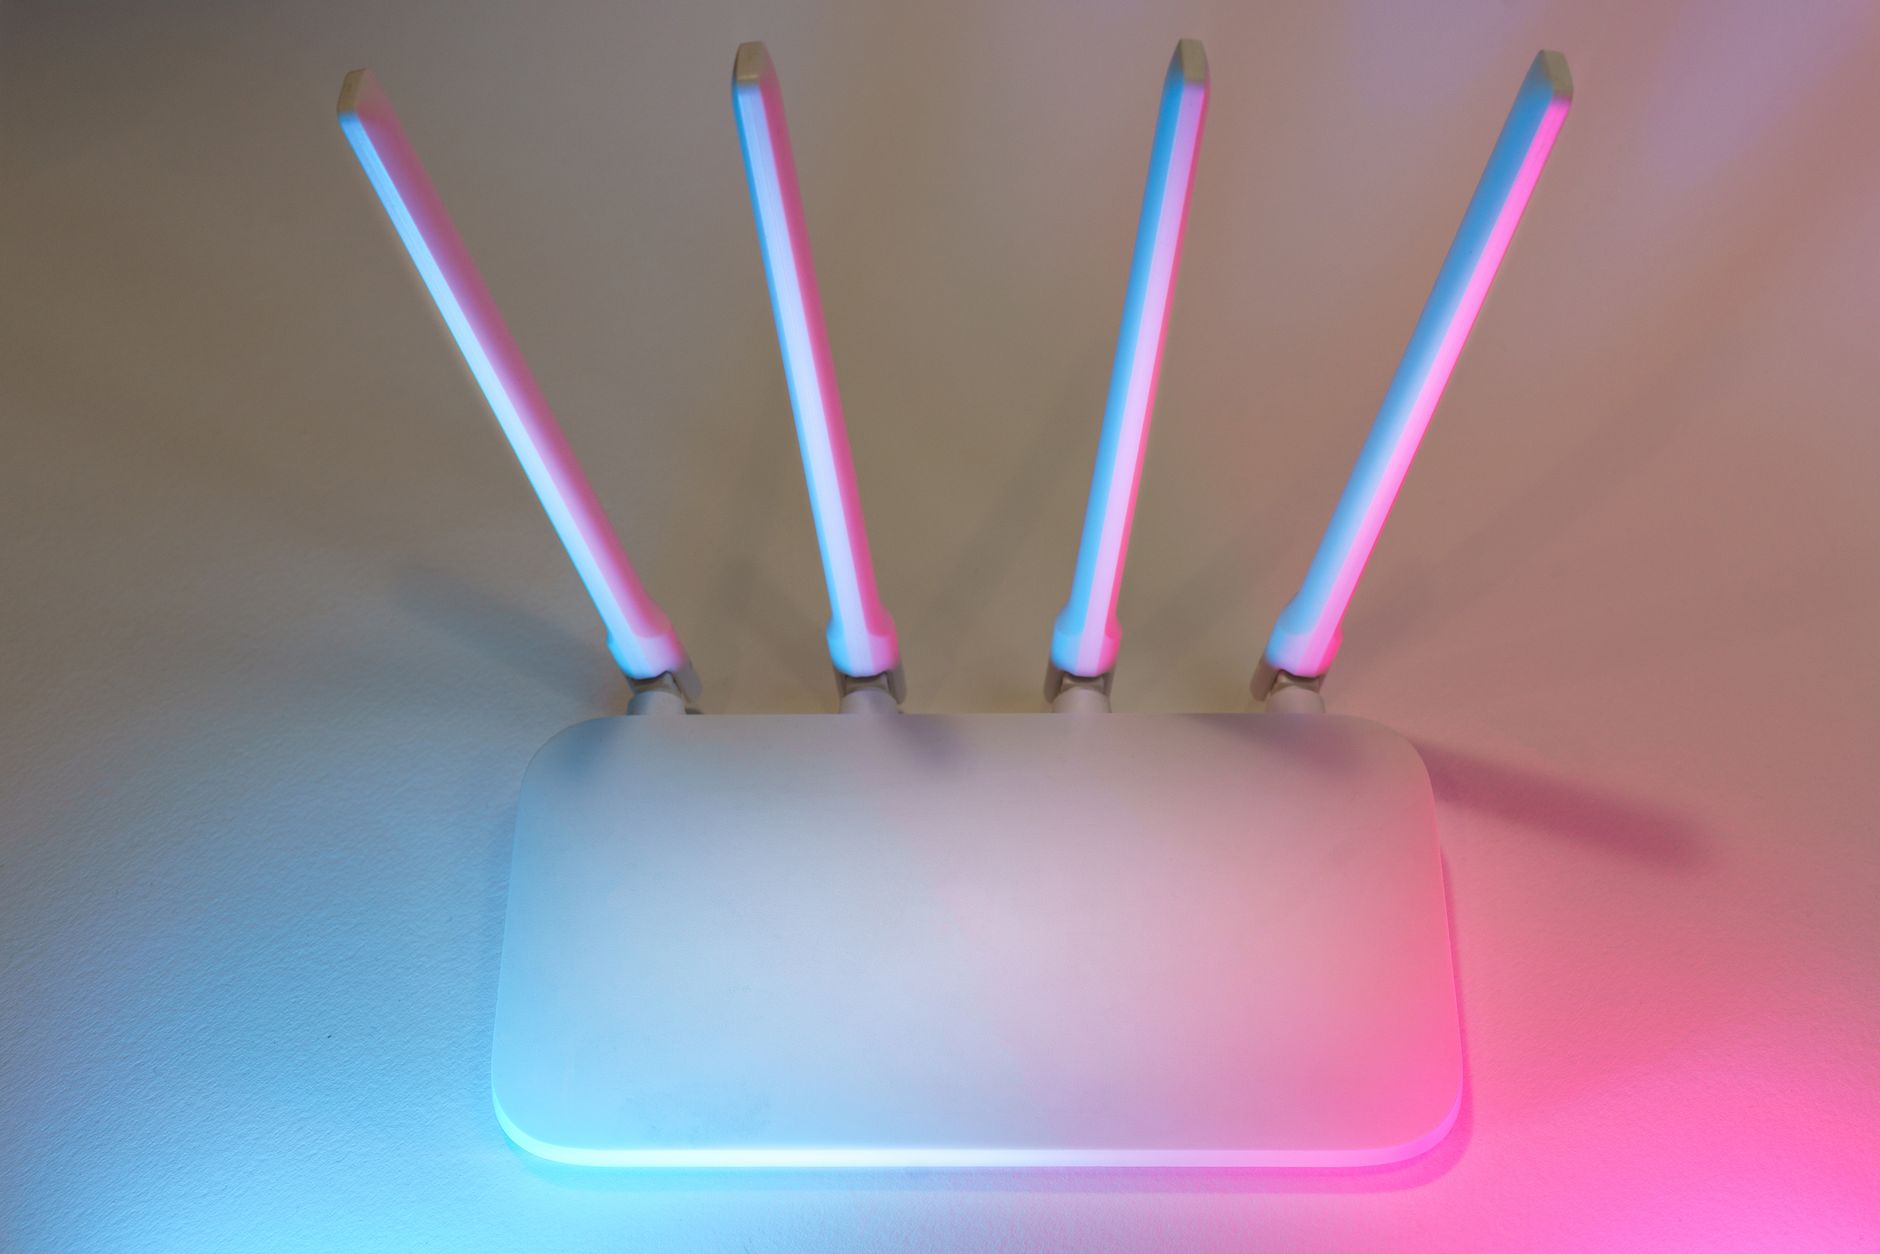
- Band steering: Routers with a single SSID for 2.4/5 GHz can confuse IoT devices. Temporarily create a dedicated 2.4 GHz SSID (e.g., “Home-IoT”) or disable band steering.
- Channel width: Set the 2.4 GHz radio to 20 MHz only; 40 MHz overlaps channels and drops packets.
- Security: WPA2-PSK (AES) works universally. WPA3-only or Enterprise (802.1X) will prevent association.
- Client isolation / AP isolation: Disable these features so the socket can reach the LAN and cloud.
Use a phone app like Wi-Fi Analyzer to confirm signal strength at the socket’s location. Aim for −65 dBm or better. If the RSSI is weaker, relocate the router or add a mesh node.
Step 4: App and Cloud Troubleshooting
- Force-close the vendor app (Kasa, Meross, Smart Life, Shelly, etc.) and reopen.
- Check for app updates in the Play Store / App Store.
- Log out and back in to refresh the cloud token.
- If the device appears “offline” but the LED shows connected, reboot the router, then the socket.
For sockets that support local control (Shelly, Tasmota-flashed, ESPHome), access the web UI at the device IP. If the web UI loads but the cloud app fails, the issue is internet/cloud, not the socket itself.
Step 5: Firmware Updates
Outdated firmware causes dropped connections and security vulnerabilities. In the vendor app, navigate to Device Settings → Firmware Update. Run the update while the socket is on a stable Wi-Fi signal. Do not power-cycle during the flash; a bricked socket usually requires serial recovery.
Step 6: Advanced Hardware Checks
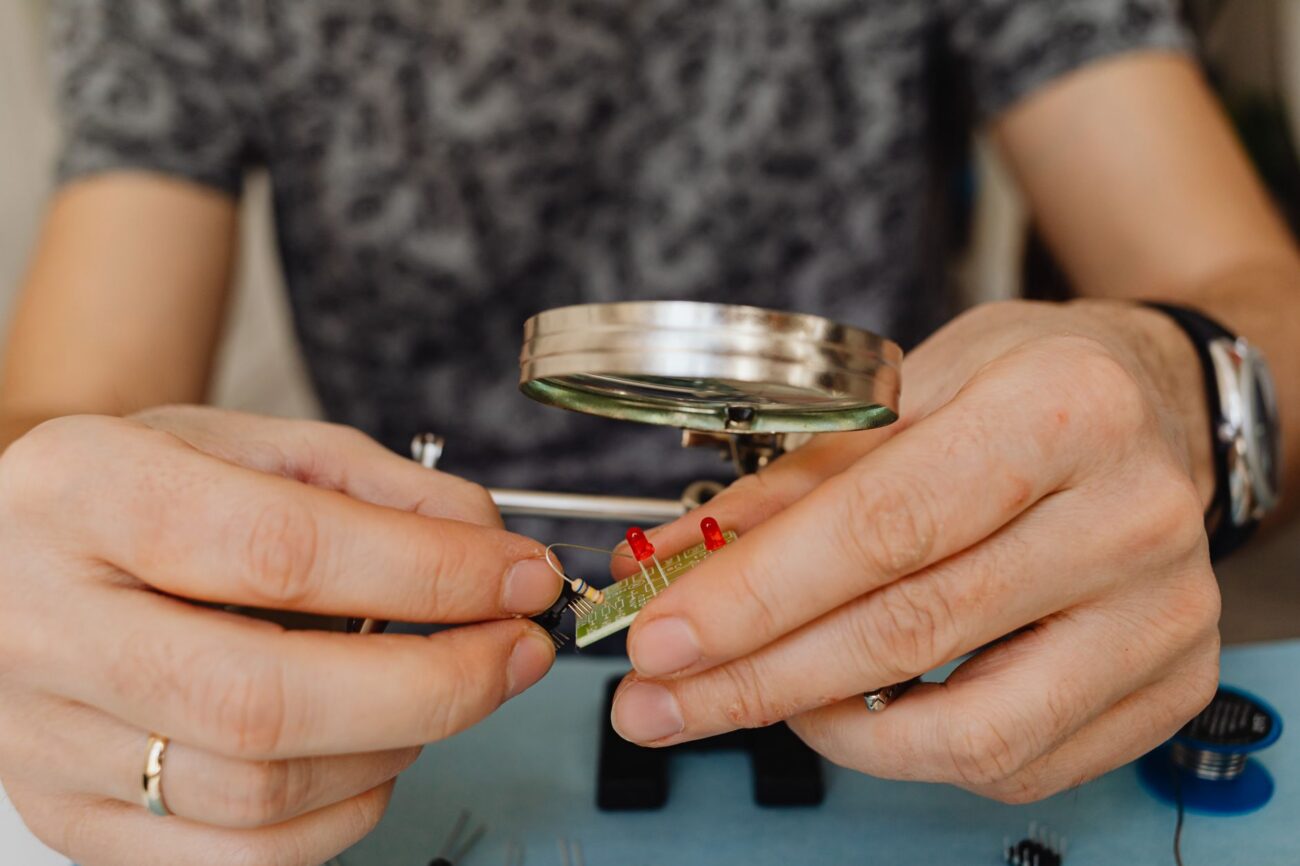
If the socket is completely dead (no LED, no relay click), the internal 3.3 V / 5 V power supply (typically a capacitive dropper or tiny SMPS) may have failed. With the unit unplugged and discharged, open the case using a precision screwdriver set. Visually inspect for:
- Bulging or leaking electrolytic capacitors
- Burnt PCB traces near the relay or antenna
- Cold solder joints on the ESP8266/ESP32 module
Use a digital multimeter tester to check the DC rails. You should measure ~3.3 V between the ESP module’s VCC and GND pins when mains is applied (exercise extreme caution if probing live). If the rail is missing, the dropper capacitor or rectifier diode is the usual suspect. Replacing a 0.1 µF X2 capacitor or a 1N4007 diode is inexpensive but requires SMD rework skills. If you are not comfortable with mains-referenced repair, recycle the unit and buy a replacement.
Klein Tools MM400 Digital Multimeter — check today’s price
iFixit Mako Driver Kit 64-bit Set — check today’s price
Common Mistakes to Avoid
- Forgetting to disable 5 GHz during pairing.
- Using a 2.4 GHz guest network with client isolation enabled.
- Flashing third-party firmware (Tasmota, ESPHome) without backing up the original partition table.
- Probing live mains with a multimeter set to current mode (blows the fuse or destroys the meter).
- Over-tightening terminal screws on in-wall models, cracking the PCB.
Handy tools on AliExpress
These affordable tools make the diagnostic steps above much easier:

HT208A/D AC/DC Digital Clamp Meter Meter Multimeter Pinza Amperimetrica True RMS High Prec
$33.62 $84.92 on AliExpress
HT208A/D AC/DC Digital Clamp Meter Meter Multimeter Pinza Amperimetrica True RMS High Prec
$33.46 $79.30 on AliExpress
FAQ
Why does my smart socket lose Wi-Fi every night?
Many routers run a scheduled channel scan or DFS radar check that briefly drops 2.4 GHz clients. Fix by setting a fixed channel (1, 6, or 11) and disabling “auto channel” on the router.
Can I fix a smart socket that won’t turn on at all?
If the LED never lights and the relay never clicks, the internal low-voltage supply has likely failed. Skilled hobbyists can replace the dropper capacitor or rectifier; otherwise, replace the unit.
Is it safe to flash Tasmota or ESPHome on my smart socket?
Yes, provided you follow a device-specific guide and keep a serial connection for recovery. Note that flashing voids the manufacturer warranty. See the Tasmota documentation for supported devices and wiring diagrams.
How do I know if my socket supports local control without the cloud?
Check the product page or user manual for “LAN control,” “local API,” or “MQTT.” Shelly, Sonoff (with custom firmware), and some Tuya devices exposed via Tuya Local offer this.
Conclusion
Most smart socket failures are resolved by a power-cycle, a 2.4 GHz Wi-Fi tweak, or a firmware update. Hardware faults are rarer but diagnosable with a multimeter and basic soldering gear. Work methodically, respect mains voltage, and you’ll have your automation back online quickly. For more smart-home maintenance tips, see our How to Fix Common Electric Scooter Problems: Throttle, Battery, and Charging Port guide on securing IoT devices.