Disclosure: This article contains affiliate links. If you buy through them we may earn a small commission at no extra cost to you.
A cracked or malfunctioning smartwatch display can be incredibly frustrating. While these tiny devices are marvels of engineering, their screens are often the most vulnerable component. If you’re facing a shattered screen, a DIY smartwatch screen repair might seem daunting, but with the right tools, patience, and a methodical approach, it’s a repair many tech-savvy individuals can tackle. This comprehensive guide will walk you through the process, helping you decide if it’s a project for you and how to execute it successfully.
Before You Begin: Is DIY Smartwatch Screen Repair Right for You?
Before diving into the repair, it’s crucial to assess if this endeavor is suitable for your skill level and situation. Smartwatches are compact and intricate, making repairs challenging.
Warranty Considerations
Attempting a DIY repair will almost certainly void your smartwatch’s warranty. If your device is still under warranty, contact the manufacturer or retailer first to explore professional repair options, which might be covered or offered at a reasonable cost. Weigh the cost of a professional repair against the risk of voiding your warranty and potentially damaging the device further.
Required Skill Level and Patience
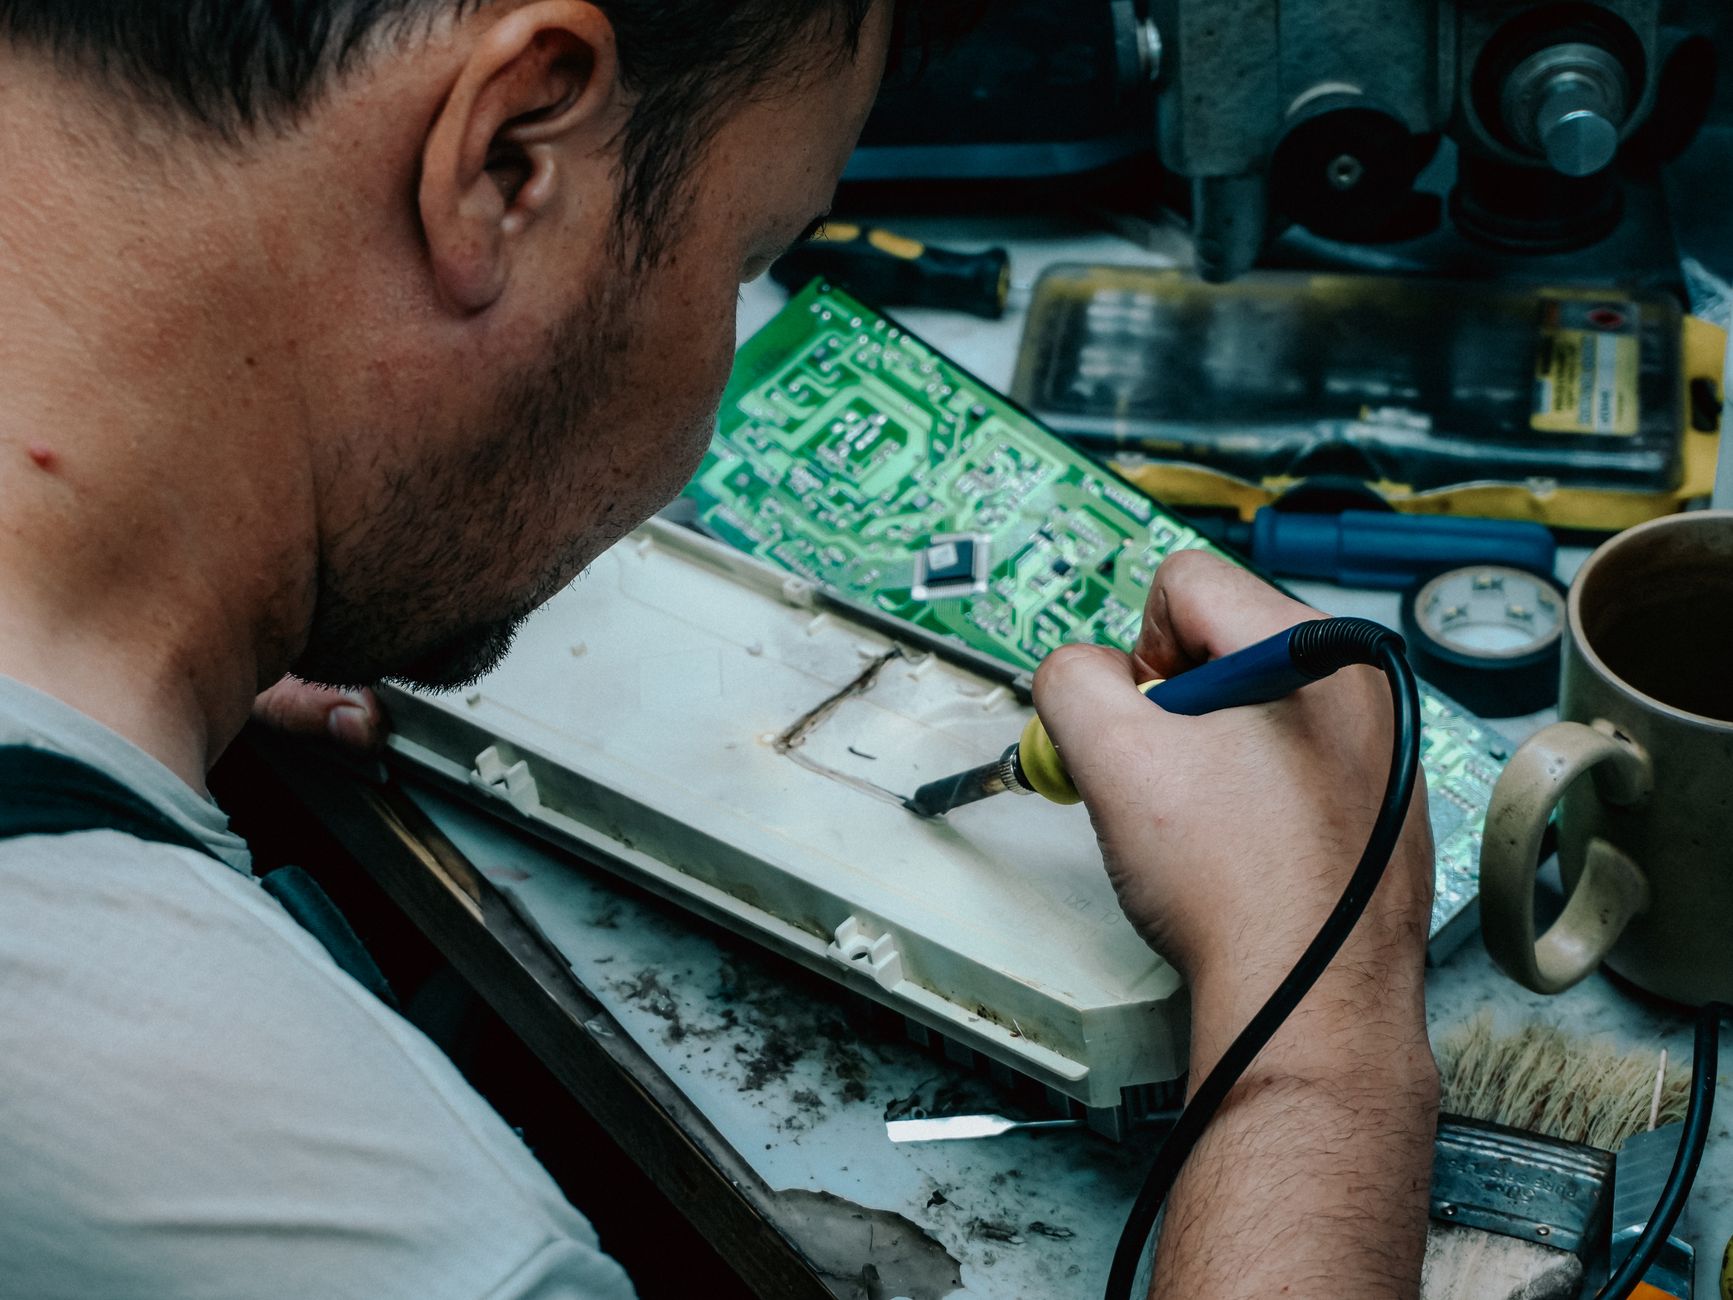
Smartwatch repair requires a steady hand, excellent eyesight (or magnification), and a high degree of patience. You’ll be dealing with tiny screws, delicate ribbon cables, and strong adhesives. If you’re new to electronics repair, start with a less complex device before tackling a smartwatch.
Sourcing the Right Replacement Parts
Finding a genuine, high-quality replacement screen assembly is paramount. Aftermarket parts can vary significantly in quality, affecting display clarity, touch responsiveness, and even battery life. Always search for parts specifically for your smartwatch’s exact model number. You can usually find this on the back of the watch or in its settings menu. Reputable suppliers often specialize in specific brands or models.
Essential Tools for the Job
Having the correct tools makes all the difference in a successful repair. Here’s what you’ll likely need:
- Precision Screwdriver Set: For tiny screws (often Phillips, Torx, or Pentalobe).
- Plastic Spudgers and Opening Picks: To gently pry open the device without scratching.
- Heat Gun or Heating Pad: To soften the adhesive holding the screen.
- Suction Cup: To help lift the screen.
- Fine-point Tweezers: For manipulating tiny cables and components.
- New Adhesive Strips or B-7000 Glue: To re-seal the new screen.
- Isopropyl Alcohol (90%+): For cleaning old adhesive residue.
- Microfiber Cloth: For cleaning surfaces.
- Magnifying Lamp or Goggles: Highly recommended for better visibility.
- Anti-static Mat and Wrist Strap: To prevent electrostatic discharge (ESD) damage.
For a comprehensive set of high-quality tools that covers most small electronics repairs, consider investing in a kit like the
iFixit Pro Tech Toolkit — check today’s price
. For softening adhesives, a dedicated tool like a
Heat Gun for Electronics Repair — check today’s price
offers precise temperature control.
Step-by-Step Guide to Smartwatch Screen Repair
Follow these steps carefully to maximize your chances of a successful smartwatch screen repair.
Step 1: Prepare Your Workspace and Gather Tools
Set up a clean, well-lit, and organized workspace. An anti-static mat is ideal. Lay out all your tools and the new replacement screen assembly. Ensure your smartwatch is fully powered off.
Step 2: Power Down and Remove Straps
Crucially, power off your smartwatch completely. Remove the watch straps to make the device easier to handle and prevent accidental damage to them.
Step 3: Heat the Adhesive
The screen is typically secured with strong adhesive. Use a heat gun or heating pad to gently warm the edges of the display for 30-60 seconds. Keep the heat moving to avoid overheating any single spot. This softens the adhesive, making it easier to separate the screen from the watch body.
Step 4: Carefully Pry Open the Display
Once the adhesive is warm, attach a suction cup near the edge of the screen. Gently pull up on the suction cup while inserting a thin opening pick or plastic spudger into the seam between the screen and the watch body. Work your way around the perimeter, slowly and carefully separating the screen. Be extremely cautious, as ribbon cables connecting the display to the main board are usually located just underneath.
Step 5: Disconnect the Old Display
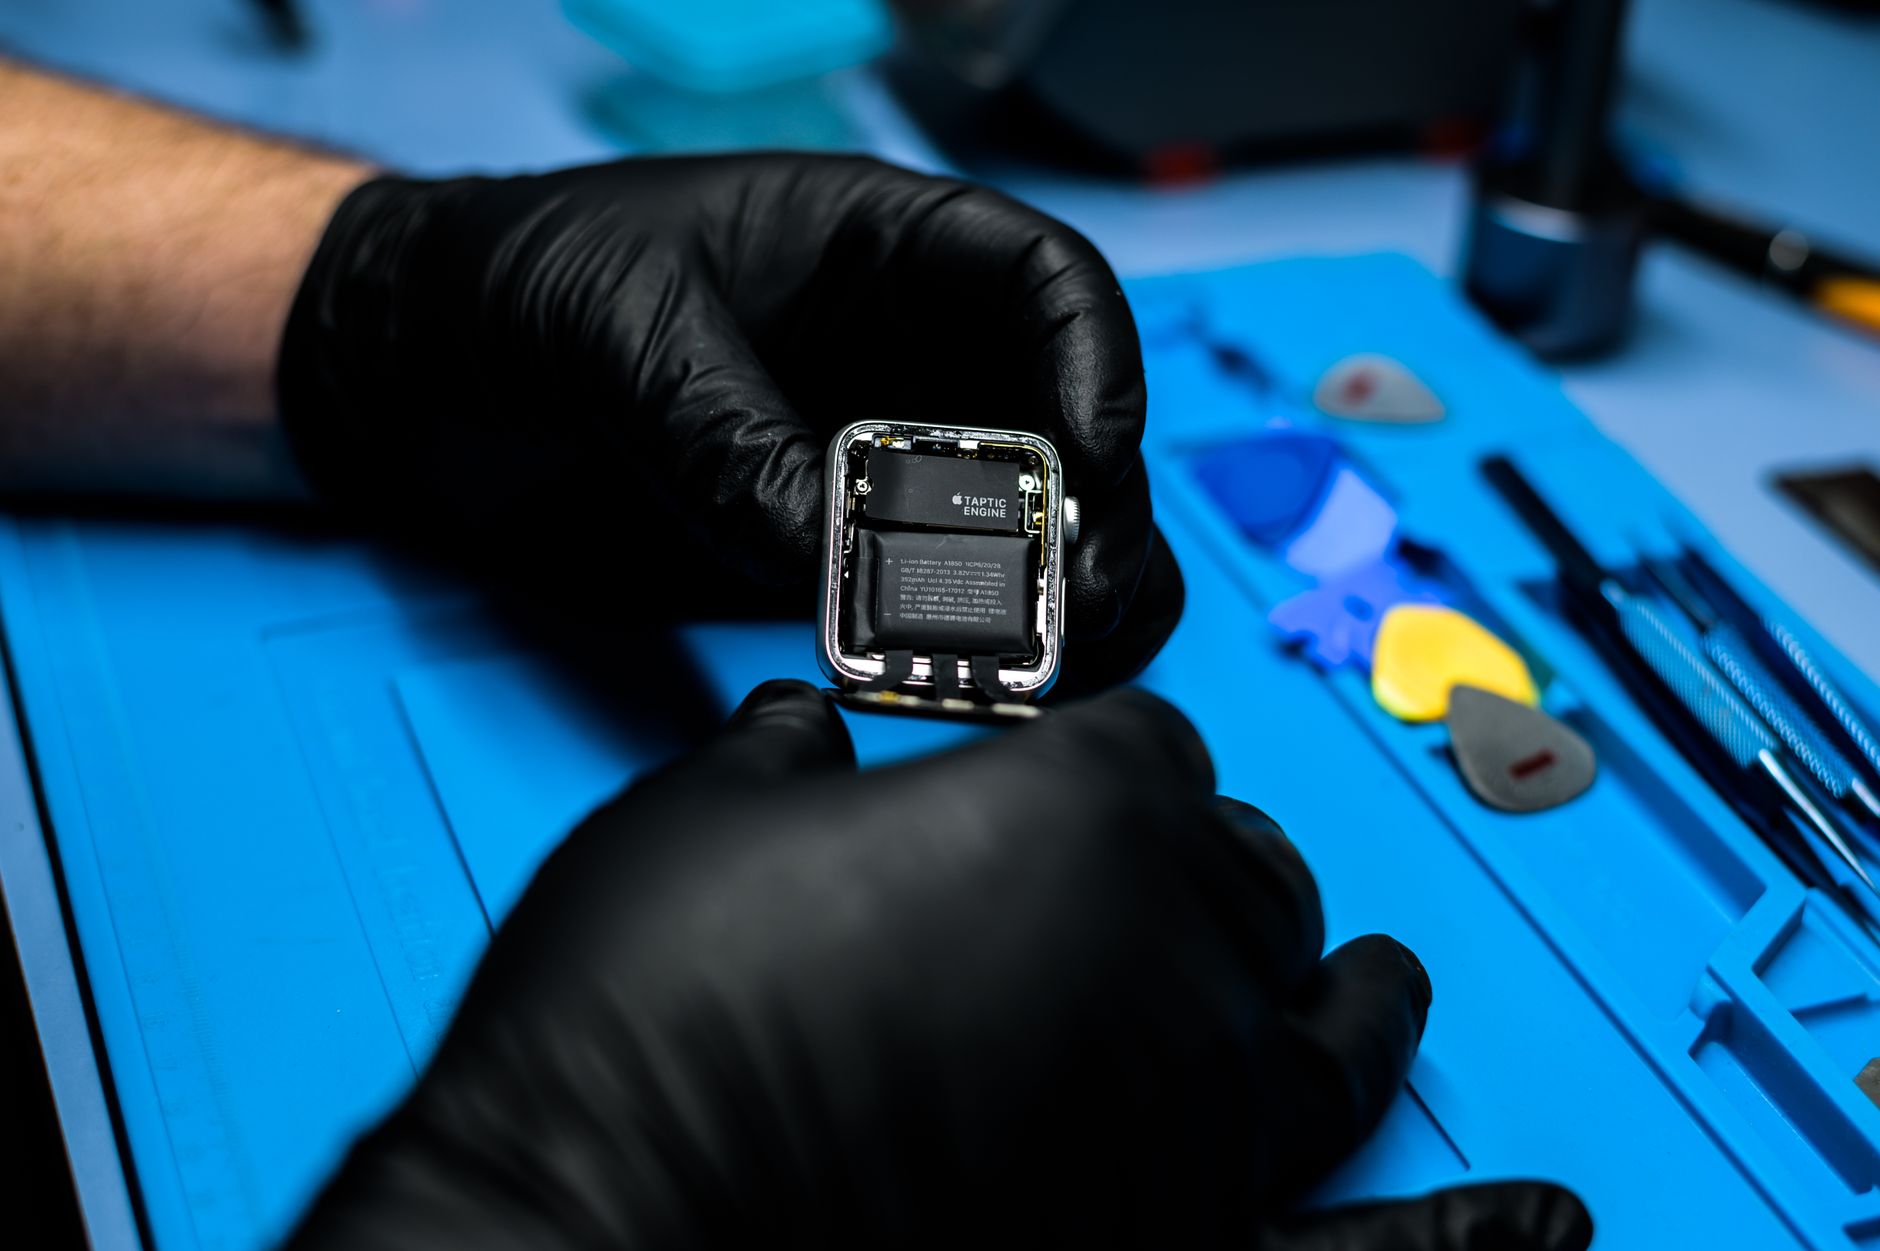
Once the screen is partially lifted, you’ll see one or more delicate ribbon cables connecting it to the watch’s internal components. Using fine-point tweezers or a plastic spudger, carefully unlatch the connectors. These are often ZIF (Zero Insertion Force) connectors that flip up or slide out. Avoid pulling on the cables themselves. Once disconnected, set the old display aside.
Step 6: Clean the Frame
Before installing the new screen, you must thoroughly clean the watch frame. Use isopropyl alcohol and a plastic spudger to scrape away all remnants of the old adhesive. Any residue can prevent the new screen from seating properly and sealing securely. Ensure the surface is perfectly clean and dry.
Step 7: Connect the New Display
Carefully align the ribbon cables of the new display with their respective connectors on the watch’s main board. Gently re-latch the connectors, ensuring the cables are properly seated and not creased or twisted. Before fully sealing the device, it’s a good idea to perform a quick test: temporarily power on the watch to check if the new display lights up and responds to touch. Power it off again before proceeding.
Step 8: Apply New Adhesive
If your new screen didn’t come with pre-applied adhesive, carefully apply new adhesive strips around the perimeter of the watch frame where the screen will sit. Alternatively, use a thin, even bead of B-7000 glue, being careful not to apply too much or get it into internal components.
Step 9: Reassemble the Smartwatch
Carefully align the new screen with the watch body, ensuring the cables are not pinched. Gently press the screen down firmly and evenly around all edges to secure it with the new adhesive. If there were any screws or clips holding the screen, re-secure them. You might want to use clamps or rubber bands to hold the screen in place for a few hours while the adhesive cures.
Step 10: Test Functionality
Once the adhesive has cured (check the adhesive’s instructions for curing time), power on your smartwatch. Test the touch screen thoroughly, check for dead pixels, test any physical buttons, and ensure all functions are working correctly. Charge the device to ensure the battery connection is also sound.
Handy tools on AliExpress
AliExpress can be a great source for specialized electronics repair tools at competitive prices. Here are a couple of useful items:
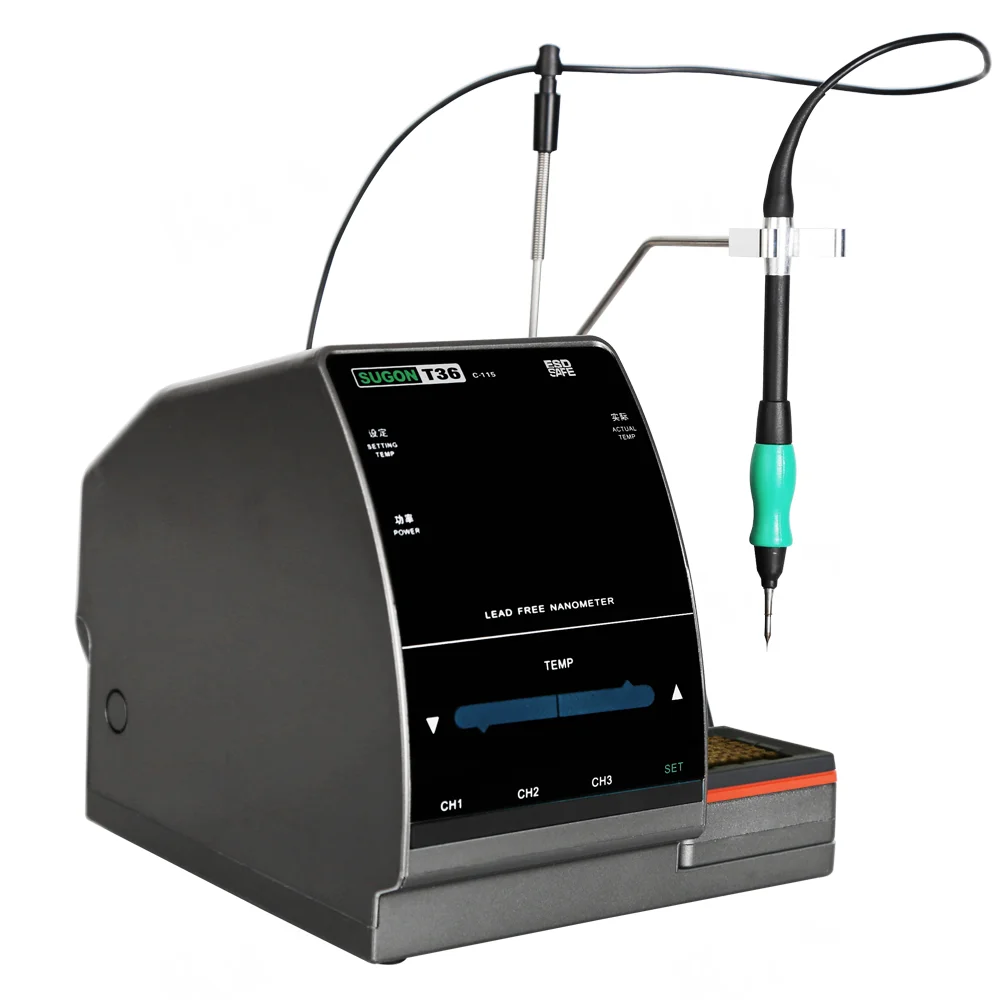
Factory Directly Supply SUGON T36 Hot Air Heat Gun Precise Temp Portable Good Soldering Ir
$525.37 on AliExpress
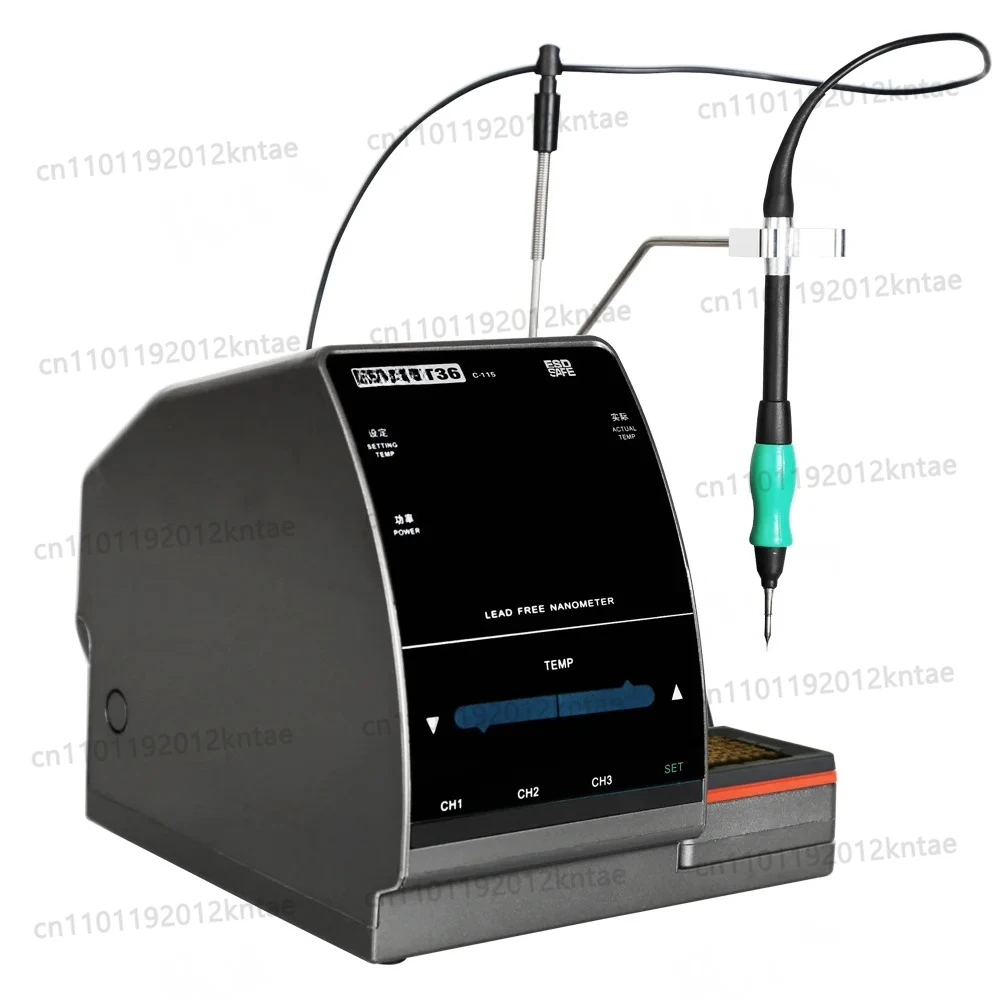
T36 Hot Air Heat Gun Precise Temp Portable Good Soldering Iron For Electronics Rework Stat
$432.83 $446.22 on AliExpress
Common Mistakes to Avoid During Repair
- Forgetting to Power Off: Always power down the device to prevent short circuits.
- Using Excessive Force: Smartwatch components are fragile. Use gentle, consistent pressure.
- Damaging Ribbon Cables: These are extremely delicate. Never pull on them; always use tweezers or a spudger to manipulate their connectors.
- Not Cleaning Old Adhesive: Residual adhesive prevents a proper seal and can cause the new screen to lift prematurely.
- Using Incorrect Parts: Always double-check your smartwatch model number and ensure the replacement screen is compatible.
- Overheating: Too much heat can damage internal components or the battery.
For more general best practices in electronics repair, including safety and proper tool usage, it’s always wise to consult resources like iFixit’s guides on general repair practices.
Frequently Asked Questions About Smartwatch Screen Repair
How much does smartwatch screen repair typically cost?
The cost varies significantly. DIY repair primarily involves the cost of the replacement screen (which can range from $20 to $100+ depending on the model and quality) and any tools you need to buy. Professional repairs from a third-party service can range from $70 to $200+, while manufacturer repairs might be even higher but offer guaranteed quality and sometimes restore water resistance.
Can I replace just the glass, or do I need the whole display assembly?
For most modern smartwatches, the glass digitizer and the LCD/OLED display panel are fused together as a single unit. Attempting to separate just the glass is extremely difficult, often leads to further damage, and requires specialized equipment. It’s almost always recommended to replace the entire display assembly.
What if my smartwatch is water-resistant? Will it still be after repair?
Unfortunately, performing a DIY smartwatch screen repair will almost certainly compromise its original water resistance. Manufacturers use specialized seals and assembly techniques that are difficult to replicate at home. While you can use new adhesive, it’s unlikely to restore the device to its factory water-resistant standard. Avoid submerging your repaired smartwatch.
Where can I find genuine replacement parts?
Genuine parts are often hard to come by unless purchased directly from the manufacturer, which might only be an option for professional repair centers. Reputable third-party suppliers who specialize in smartphone and smartwatch parts are your best bet for high-quality aftermarket components. Always check reviews and return policies.
Conclusion
Repairing a smartwatch display is a challenging but rewarding DIY project. It requires precision, the right tools, and a good understanding of the steps involved. By carefully following this guide, you can potentially save money and extend the life of your beloved wearable. Remember to weigh the risks against the benefits, and if you’re ever in doubt, seeking professional help is always a valid option. For more tips on maintaining your tech, check out our other Why Is Your Electric Scooter Turning Off? Causes & Easy Fixes guides.