#buysecretdeals – on facebook
I hate long game-load time. I hate it so much.
Many times I only have a few minutes to play, so waiting too long for the game to load is not an option.
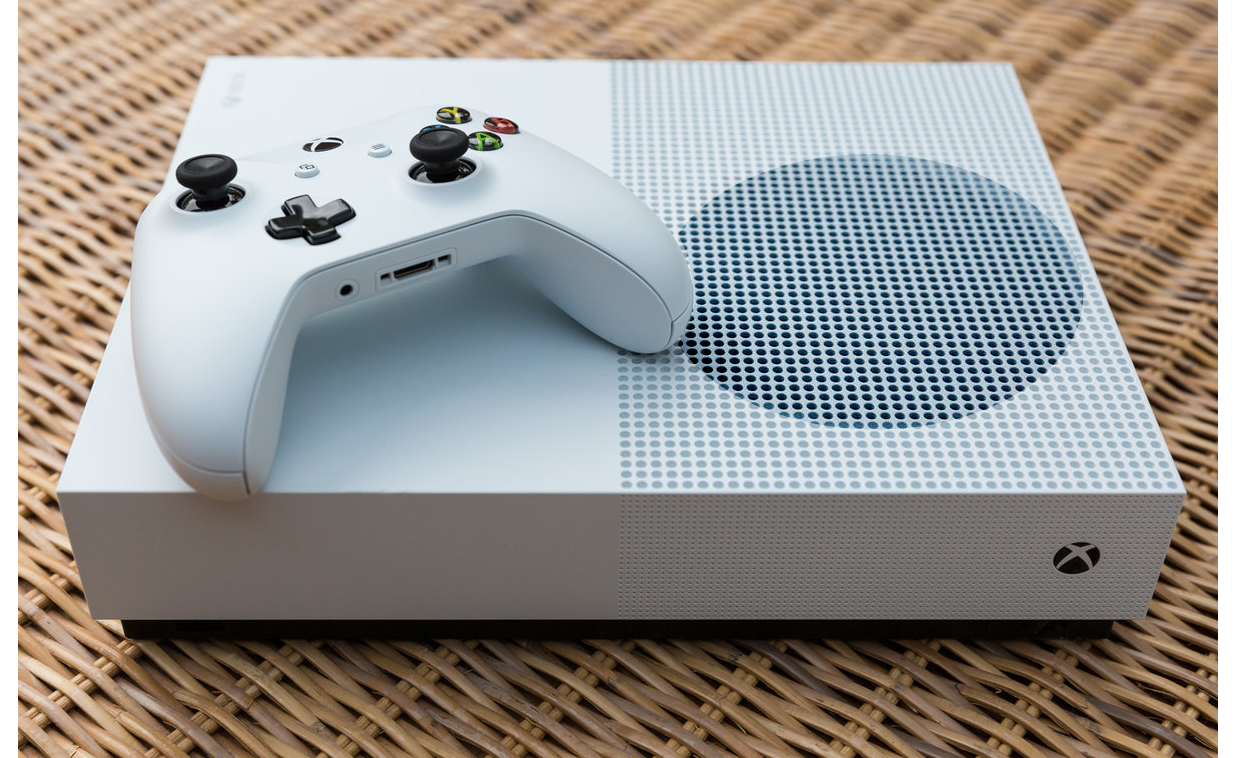
But who can afford a brand new Series X console? Or who would buy the cheaper Series S when it has only half of tera of storage? So I decided to open up my modest Xbox One S All-Digital Edition and replace the very slow hard drive with an SSD I found lying around.
Pry open the console black bottom part. It’s a pretty tight one. I broke my prying tool and had to use a screwdriver, which left some marks on this soft plastic.
Unscrew all the screws you see except the 4 screws that hold the cpu cooler.
Lift the top cover.
Use this opportunity to clean up all the dust inside.
Unscrew 3 more screws and unplug this panel.
Unscrew 5 more screws and unplug the 2nd panel.
Unscrew 2 more screws and open up the metal shielding.
Unplug 2 hard drive wires.
As I said this is a very basic and cheap 5400RPM sata hard drive.
Unscrew 4 more screws.
Unplug the hard drive connector.
I was afraid to lose my game progress so at first, I tried to clone disk.
It took hours for the cloning process to complete but the console did not boot afterward so I abandoned this idea.
Instead of cloning, Download Microsoft offline system update file.
Format the flash disk as NTFS.
Extract and copy this folder to your flash-disk.
Now goto “Toubleshoot” and “Offline system update”.
Your game progress will automatically download when you start a game with your account.
According to all tests, upgrading from mechanical hard drive to SSD will improve loading-times considerably.

techgurl

Hey friends! Amazon doesn't give you $20 coupons, $0.01 products, and cash back, but Banggood does.Come on!


