As an Amazon Associate and an AliExpress affiliate, TechGurl earns from qualifying purchases. Some links on this page are affiliate links — if you buy through them we may receive a commission, at no extra cost to you. This never affects which products we cover or what we say about them.
Disclosure: This article contains affiliate links. If you buy through them we may earn a small commission at no extra cost to you.
Taking the time to properly set up action camera gear before heading outdoors makes the difference between washed-out, jittery clips and stunning, professional-grade video. Modern pocket action cameras are capable of capturing jaw-dropping detail, but their default factory configurations prioritize aggressive sharpening, artificial contrast, and erratic automatic exposure shifts. By configuring your camera manually, you take full control of motion blur, dynamic range, and overall visual fidelity.
Step 1: Choose and Format the Correct Media
Before diving into video resolution and exposure values, you must ensure your storage card can physically sustain high write operations. Modern compact cameras record at bitrates up to 100 Mbps or higher. If your flash memory cannot sustain continuous write speeds, your camera will drop frames, produce corrupted files, or suddenly shut down during critical moments.
Look for microSD cards marked with a V30 (Video Speed Class 30) or U3 rating, which guarantees a sustained sequential write speed of at least 30 megabytes per second. A standard Class 10 card simply will not suffice for modern ultra-high-definition capture.
SanDisk Extreme Pro 128GB microSDXC — check today’s price
Always format the memory card directly inside the camera hardware rather than on a computer. In-camera formatting aligns the card file allocation table specifically with the device firmware, drastically reducing the risk of file read/write errors during high-speed recording.
How to Set Up Action Camera Video Profiles
When you initially set up action camera profiles for general shooting, resist the urge to crank every single setting to its absolute maximum. Balance resolution, battery consumption, thermal management, and post-production processing power.
For most action sports and vlogging scenarios, 4K resolution provides the optimal balance of sharp detail and manageable file sizes. While some newer models support 5.3K or higher resolutions, these modes generate tremendous internal heat and drain small lithium batteries rapidly, especially on warm summer days. Reserve ultra-resolutions for static shots or moments where you explicitly plan to crop in heavily during post-production.
- 24 fps or 30 fps: Best for standard storytelling, vlogging, and cinematic travel footage. It mimics natural human vision.
- 60 fps: The sweet spot for fast-moving action, skiing, cycling, and gentle 2x slow-motion when conformed to a 30 fps timeline.
- 120 fps to 240 fps: Strictly for high-speed analysis or dramatic super-slow-motion shots. These frame rates drastically reduce light intake and should only be used under bright midday sunlight.
Step 3: Dial In Exposure and Shutter Speed
Leaving exposure on full automatic often results in the jarring, flickery stutter associated with amateur video. In bright outdoor environments, an action camera with automatic shutter speed will crank its shutter to 1/2000s or faster. This freezes individual droplets and dirt specks with zero natural motion blur, making fast motion look unnaturally rigid and robotic.
To achieve pleasing motion blur, videographers adhere to the classic 180-degree shutter rule, which dictates that your shutter speed should equal double your frame rate. For example, if you shoot at 30 fps, your ideal shutter speed is 1/60s. If you shoot at 60 fps, lock your shutter to 1/120s.
Because action cameras use fixed-aperture lenses (typically around f/2.5 to f/2.8), adhering to this shutter rule in direct sunlight will instantly blow out your exposure. To counter this, physical neutral density (ND) filters are essential accessories that act like sunglasses for your camera glass.
PolarPro Shutter ND Filter Set — check today’s price
Attach an ND8, ND16, or ND32 filter depending on ambient brightness to keep your shutter speed locked to the ideal double-frame-rate mark without overexposing your image.
Step 4: Lock Down White Balance and ISO
Auto white balance is another culprit behind ruined action footage. As you navigate between tree canopies, open sky, and shaded dirt trails, an automated system continuously shifts the color temperature from warm to cold, creating distracting color shifts that are notoriously difficult to correct in editing.
Select a manual white balance value tailored to your environment. A setting around 5500K matches daylight conditions, while 6000K to 6500K works well under overcast skies. For golden hour or deep shade, adjusting manually guarantees that skin tones and foliage maintain continuous, uniform color across your entire shoot.
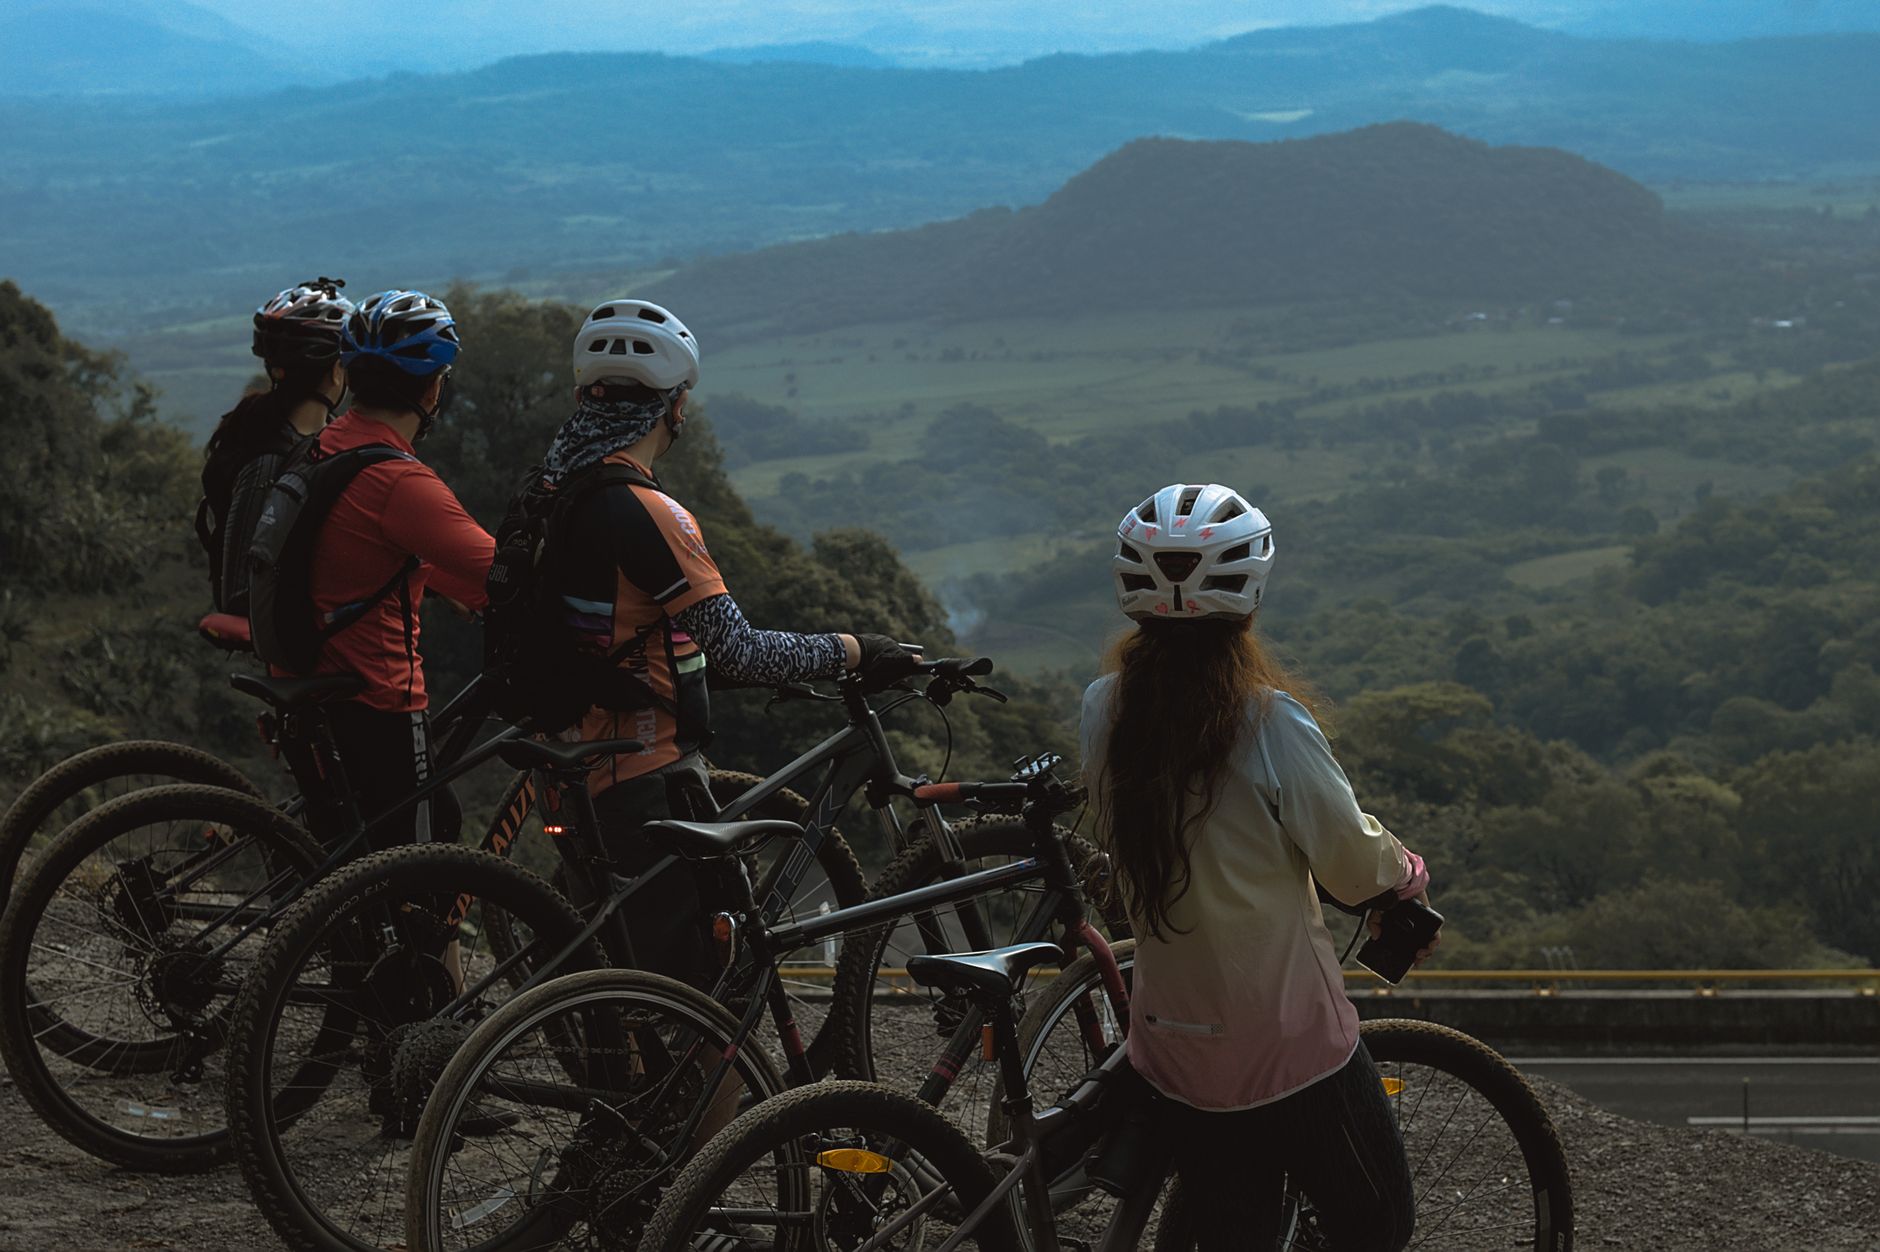
For ISO, define strict minimum and maximum boundaries. Tiny camera sensors produce noticeable luminance noise when ISO climbs beyond moderate levels. Set your minimum ISO to 100 and cap your maximum ISO between 400 and 800. If lighting drops below what ISO 800 can capture cleanly, consider introducing external illumination rather than letting digital gain degrade your video with colored speckles.
Step 5: Configure Color Profiles and Sharpness
Action camera manufacturers tune their default color profiles to look punchy right out of the box, with supersaturated greens, electric blues, and heavy digital sharpening. While this looks vivid on a smartphone screen, it frequently destroys fine detail and clips bright highlights.
Dive into your image tuning menu and set sharpness to Low or Medium. Post-production editing suites apply mathematical sharpening algorithms that look far more natural than the aggressive unsharp masking built into camera hardware.
Next, choose your color profile:
- Flat / Log: If you are comfortable using color grading software, a flat color curve preserves highlight detail in the sky and shadow detail in ground textures, granting superior dynamic range.
- Natural / Standard: If you prefer to publish clips without spending hours color grading, choose the most neutral or realistic profile available rather than the saturated or vivid preset.
- 10-bit Color: Whenever available, toggle 10-bit color encoding on. This expands color depth from 256 shades per channel up to 1,024 shades, virtually eliminating sky banding during aggressive sky grading.
Step 6: Fine-Tune Electronic Image Stabilization (EIS)
Modern action cameras feature incredible electronic stabilization algorithms, but leaving stabilization on the highest level is not always optimal. Extreme stabilization modes crop significantly into your sensor image, reducing your field of view and introducing unwanted blur in low-light environments.
When riding a mountain bike or running on foot in bright daylight, mid-tier stabilization often looks significantly more natural than maximum algorithmic smoothing, which can make your footage appear detached from physics. Furthermore, ensure you set up action camera audio settings correctly to prevent wind distortion while capturing natural ambient speed.
Handy tools on AliExpress
Keeping your optics spotless and your mounting hardware firmly calibrated ensures long-term hardware reliability in the field.
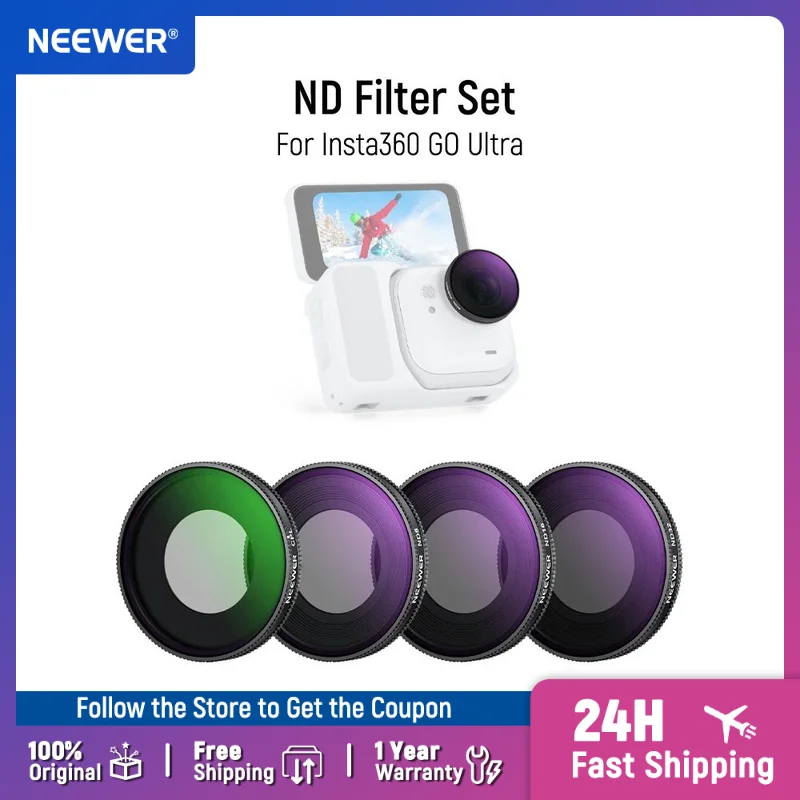
NEEWER ND Filter Set HD Optical Glass Slim Frame Action Camera Accessories for Insta360 GO
$23.09 $50.20 on AliExpress

NEEWER Magnetic ND/CPL Filter Set For DJI OSMO Pocket 3 Creator Combo Accessories, Action
$23.77 $50.57 on AliExpress
Common Action Camera Setup Mistakes to Avoid
- Ignoring the protective lens: Fingerprint oils on the small front glass element cause severe lens flares and soft focus. Always wipe your lens with a microfiber cloth before hitting record.
- Leaving wireless connectivity active: Keeping Bluetooth and Wi-Fi active while riding or skiing drains battery reserves rapidly and causes unnecessary thermal buildup.
- Mounting upside down without auto-rotate: Verify whether your camera orientation is locked. If mounting under a bike computer or chest harness, set orientation to auto or invert it in advance.
- Neglecting lens fogging: Quick temperature transitions from air-conditioned vehicles to humid trails cause internal housing condensation. Keep silica gel packets inside your camera carry bag.
Frequently Asked Questions
Should I always shoot at 4K resolution?
For almost all projects, 4K is recommended because it offers crisp resolution on modern televisions while allowing minor digital framing adjustments in editing. Use 1080p primarily if you are severely limited on storage or editing on older computer hardware.
Why does my action camera footage look jittery in low light?
Electronic image stabilization relies on light to eliminate shake. In low light, the camera lowers its shutter speed to gather illumination, causing motion blur inside each frame that stabilization algorithms attempt to reposition, resulting in a nauseating pulsing effect. Lower your stabilization level or use external lighting.
What field of view (FOV) setting looks best?
A wide or linear field of view produces the cleanest look for regular framing. Ultra-wide fish-eye or spherical views are exciting for extreme point-of-view perspectives like helmet mounting, but they distort horizon lines and introduce severe curvature to straight architectural edges.
Conclusion
Mastering these operational fundamentals guarantees that your recordings capture outdoor adventures with true fidelity, lifelike color, and smooth cinematic flow. Now that you understand how to set up action camera parameters like a seasoned professional, you can focus on executing creative camera angles and capturing genuine memories in the wild. To continue building out your production kit, explore our How to Fix a Smartwatch Rash and Prevent Wrist Discomfort for related equipment advice.